How To Transform A Photo Into A Cartoon - Adobe Illustrator Tutorial - 9/10/16

As I was searching through my old hard drive I stumbled across a collection of photos I took in 2013. The images were quite bland and un impressive on their own, however after putting some thought into it I decided that they would make good practice for some image manipulation. 

After a few hours of tweaking in Photoshop I came up with a really cool looking cartoon city scape. 

Click to view in full screen.

The following result was achieved using a combination of Adobe Illustrator and Adobe Photoshop. First I used Illustrator to convert my original photo into a vector graphic, or in other words a cartoon. Afterwards I imported my cartoon into Photoshop and combined it with a few different textures in order to get the result seen above. 

I have created two separate video tutorials detailing my process in its entirety. I will also give a short explanation of the image trace functionality used to transform my photograph into a vector image. 


First I should explain the process of transforming a photo into a cartoon. 

Below I have my original photo. The first thing to do is to import this image into Adobe Illustrator. 

Click to view in full screen.

Once the image is imported, select it using the selection tool (press V on the keyboard). Once selected you should see a tool bar like the one in the image below. 

Click on the arrow next to the image trace button and select one of the following presets. These presets will scan your image and convert it to a vector graphic. 

Each one of these presets will have a different result depending on the contents of the image. I have prepared an example image that has been processed through all of the different image trace presets. Click on the image below to view in full detail. 

After you have selected a preset you like, you will see a few different options in the image trace toolbar. If you want to edit your image further, click the button that says Expand. 

Once expanded the image will be broken up into individual paths and groups. Simply ungroup the image and then you are free to change any aspect of the image using the tools within Illustrator. 

Individual Paths.

Ungroup The Image.

Individual Path Selection.

After following these simple steps our photo has transformed into a vector cartoon. Below is the result. 

Click to view in full screen.

I explain the process in far greater detail in the following video tutorial. 


Once completed our cartoon image can be used in combination with Photoshop to produce some amazing results. 

The following video shows you how to create the image seen at the beginning of this post from start to finish. 

In the video I mention a few textures that I downloaded from deviantart.com. Click any of the links below to download one of the textures used in the video.

Download - 2 Old Postcard Textures

Download - Whitewashed Grunge Textures

Download - Texture 13

Download - Texture 15

After a few minutes of experimentation. You should get a result similar to this image shown below. 

Click to view in full screen.


This is just a brief overview of the capabilities of illustrators image trace function. This particular function can be used for a wide variety of tasks, however today I just wanted to demonstrate its potential for converting photos into illustrations.

"Kaleidoscopic Psychoactivity" - 9/21/16 - [Photomanipulation]

The initial idea behind this photo was to create a colorful poster using the same techniques used in last weeks image

This particular composition is made up of two photographs combined together, along with extensive amounts of photoshop manipulations.

Take a look for yourself.   

I eventually plan on selling large prints of this image, so definitely let me know what you think.

If you have any questions on how the final product came to be, I would be more than happy to elaborate in a video tutorial. 

"Orange Mango" - 9/14/16 - Photo and Video Tutorial

After receiving positive feedback on last weeks photo, I decided to build on the concept and create something a bit more exciting.

The following image is the result of several hours of experimentation. The photo itself is made up of two exposures, one for the background and one for the bottle. Both of which were processed in Adobe Lightroom, and later combined in Adobe Photoshop. The splash effect was later added in the post production process, by liquifying the bottle and than adding several layer masks comprised of various paint splashes.

The final product is shown below. 

In addition, I have also produced a video tutorial detailing the process for creating the splash's. 

[Photo] - "Blue Beer" - 9/5/16

I spent most of the day testing out some new ideas for some lighting setups. The main goal was to use a setup that was mostly different to what I am used to in order to manipulate the background of the image. The following image is the result of todays experiments. Hopefully in the upcoming weeks I can use this technique to get some nice results. 

11 More Images Added to "Aqueous Motion - Volume 1"

On Monday I posted a small collection of five images titled "Aqueous Motion - Volume 1", today I have added eleven new images to the series. I mainly focused on perfecting the techniques used on Monday's shoot and i've learned quite a bit from doing so. If you need more information on the project itself feel free to check out Monday's post for more information. 

In the meantime enjoy the photos. 

New Photo Series - "Aqueous Motion - Volume 1"

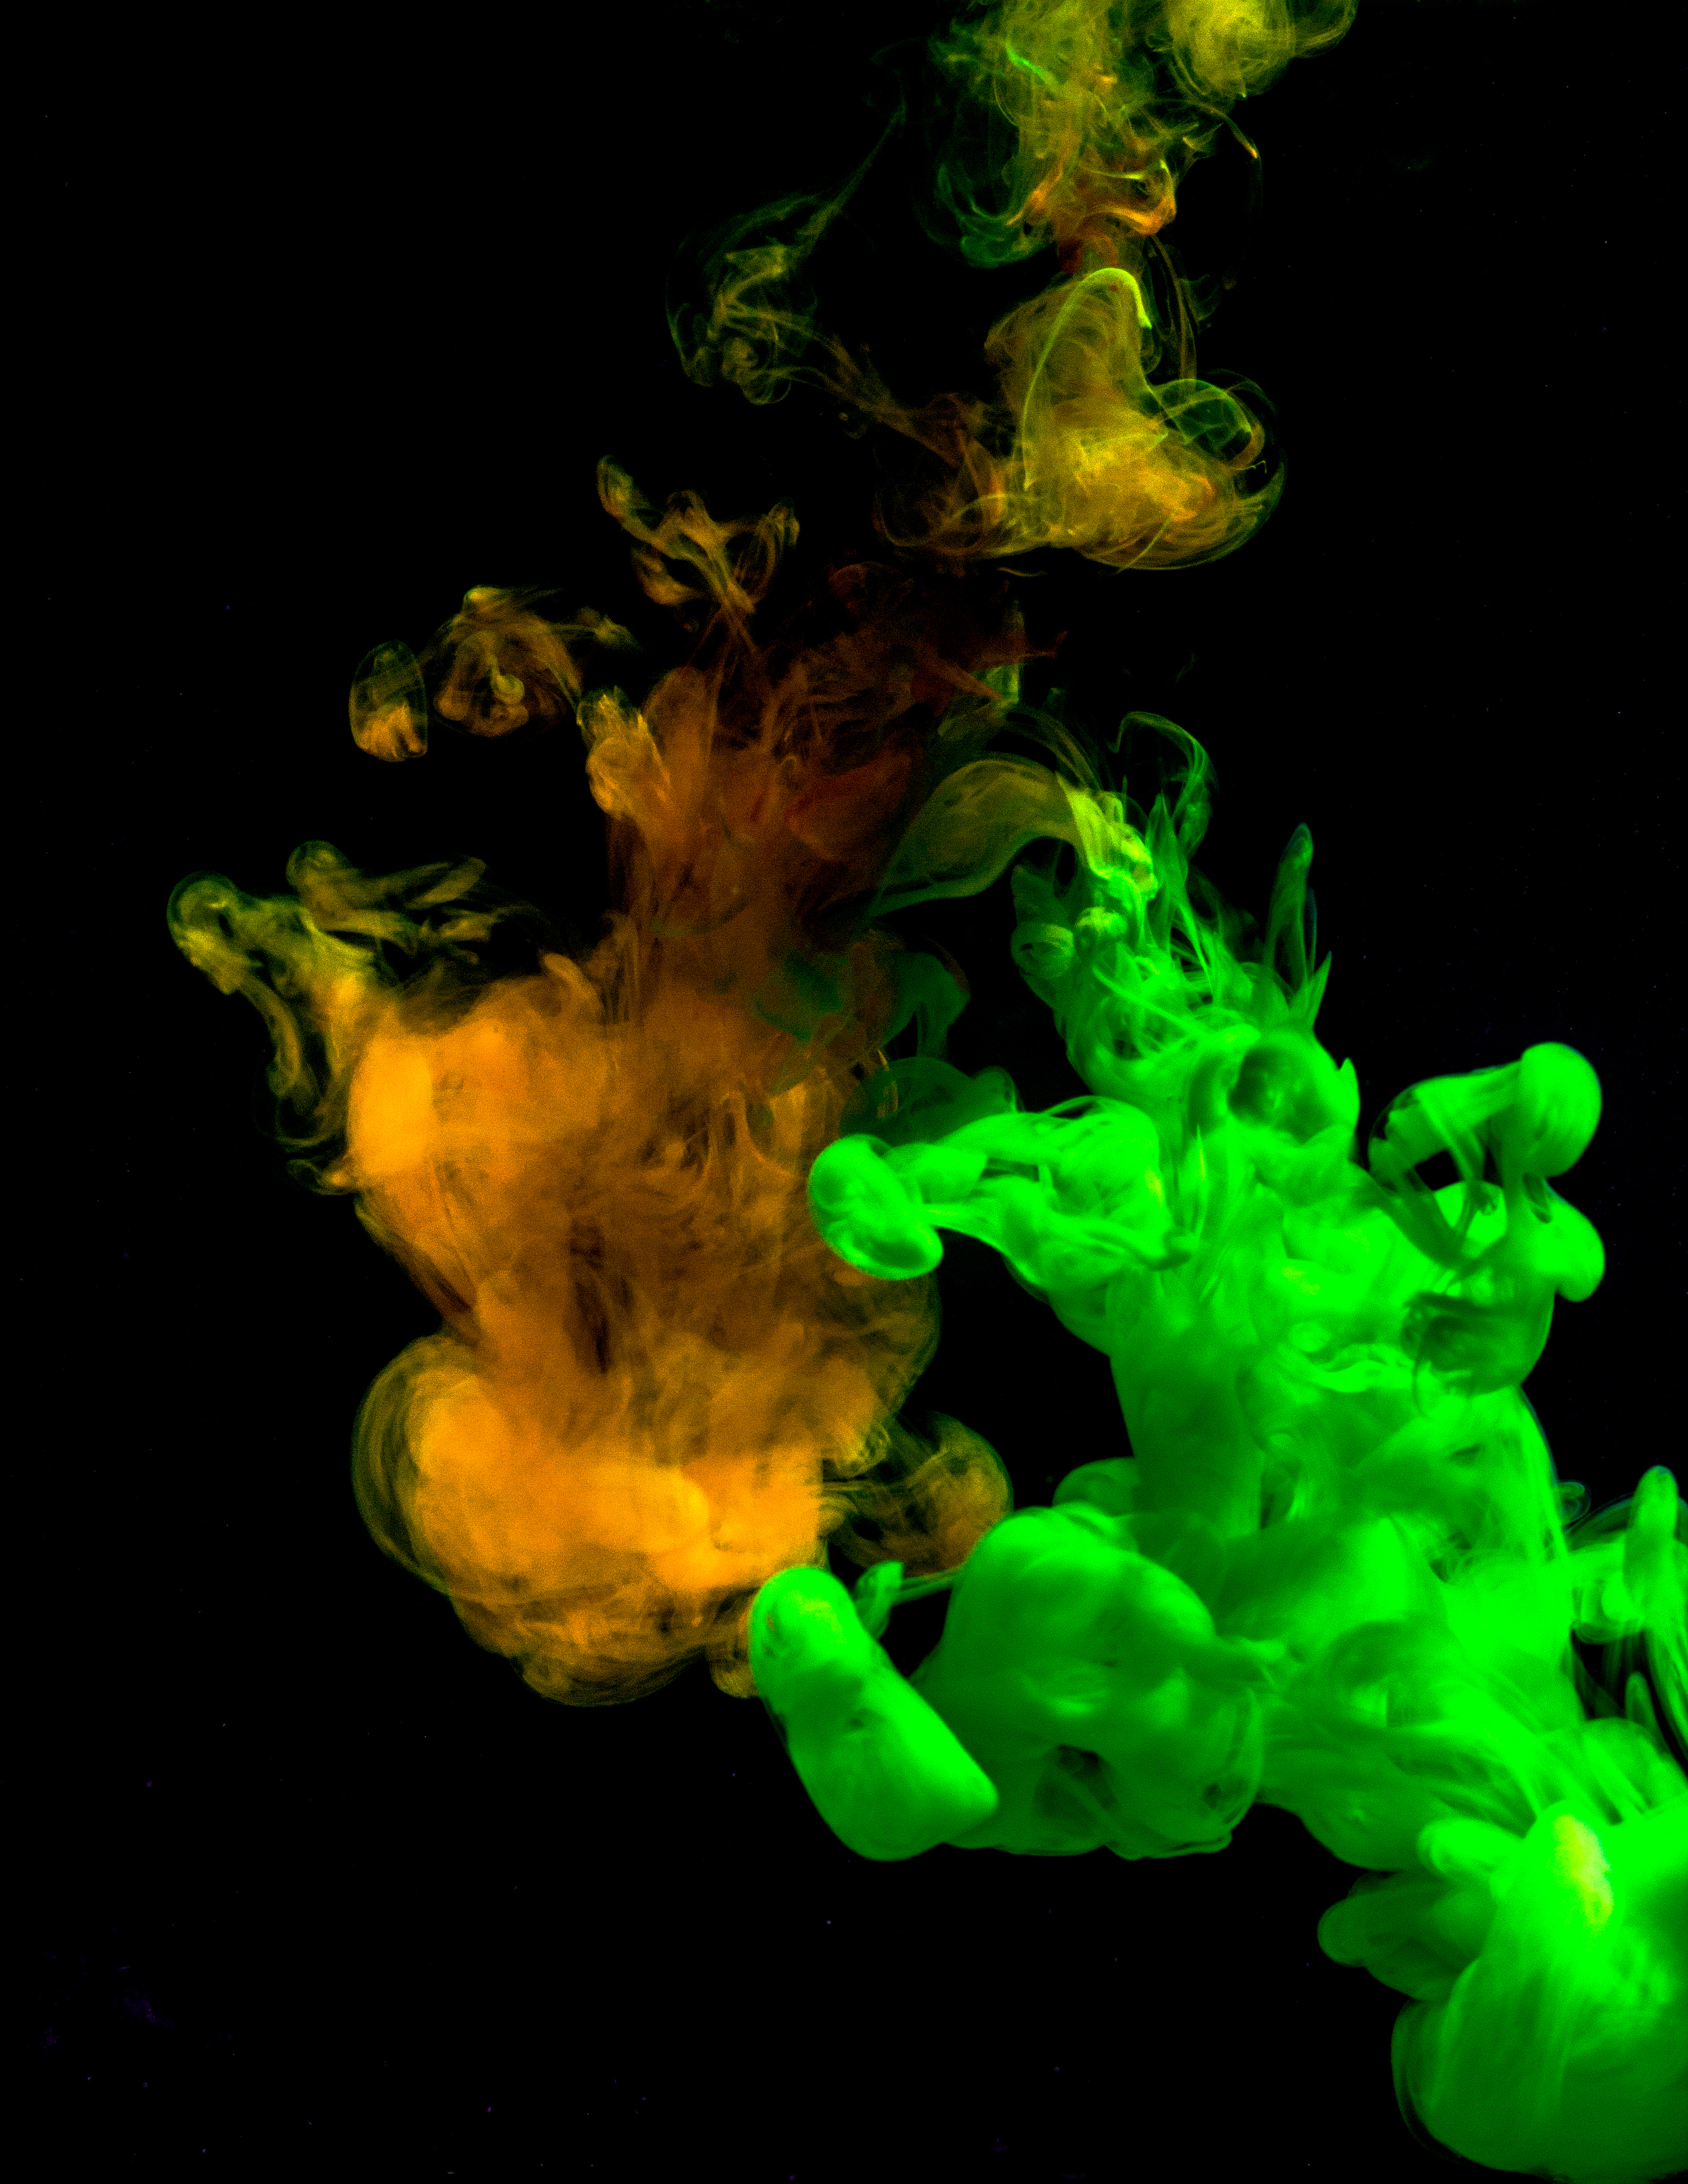
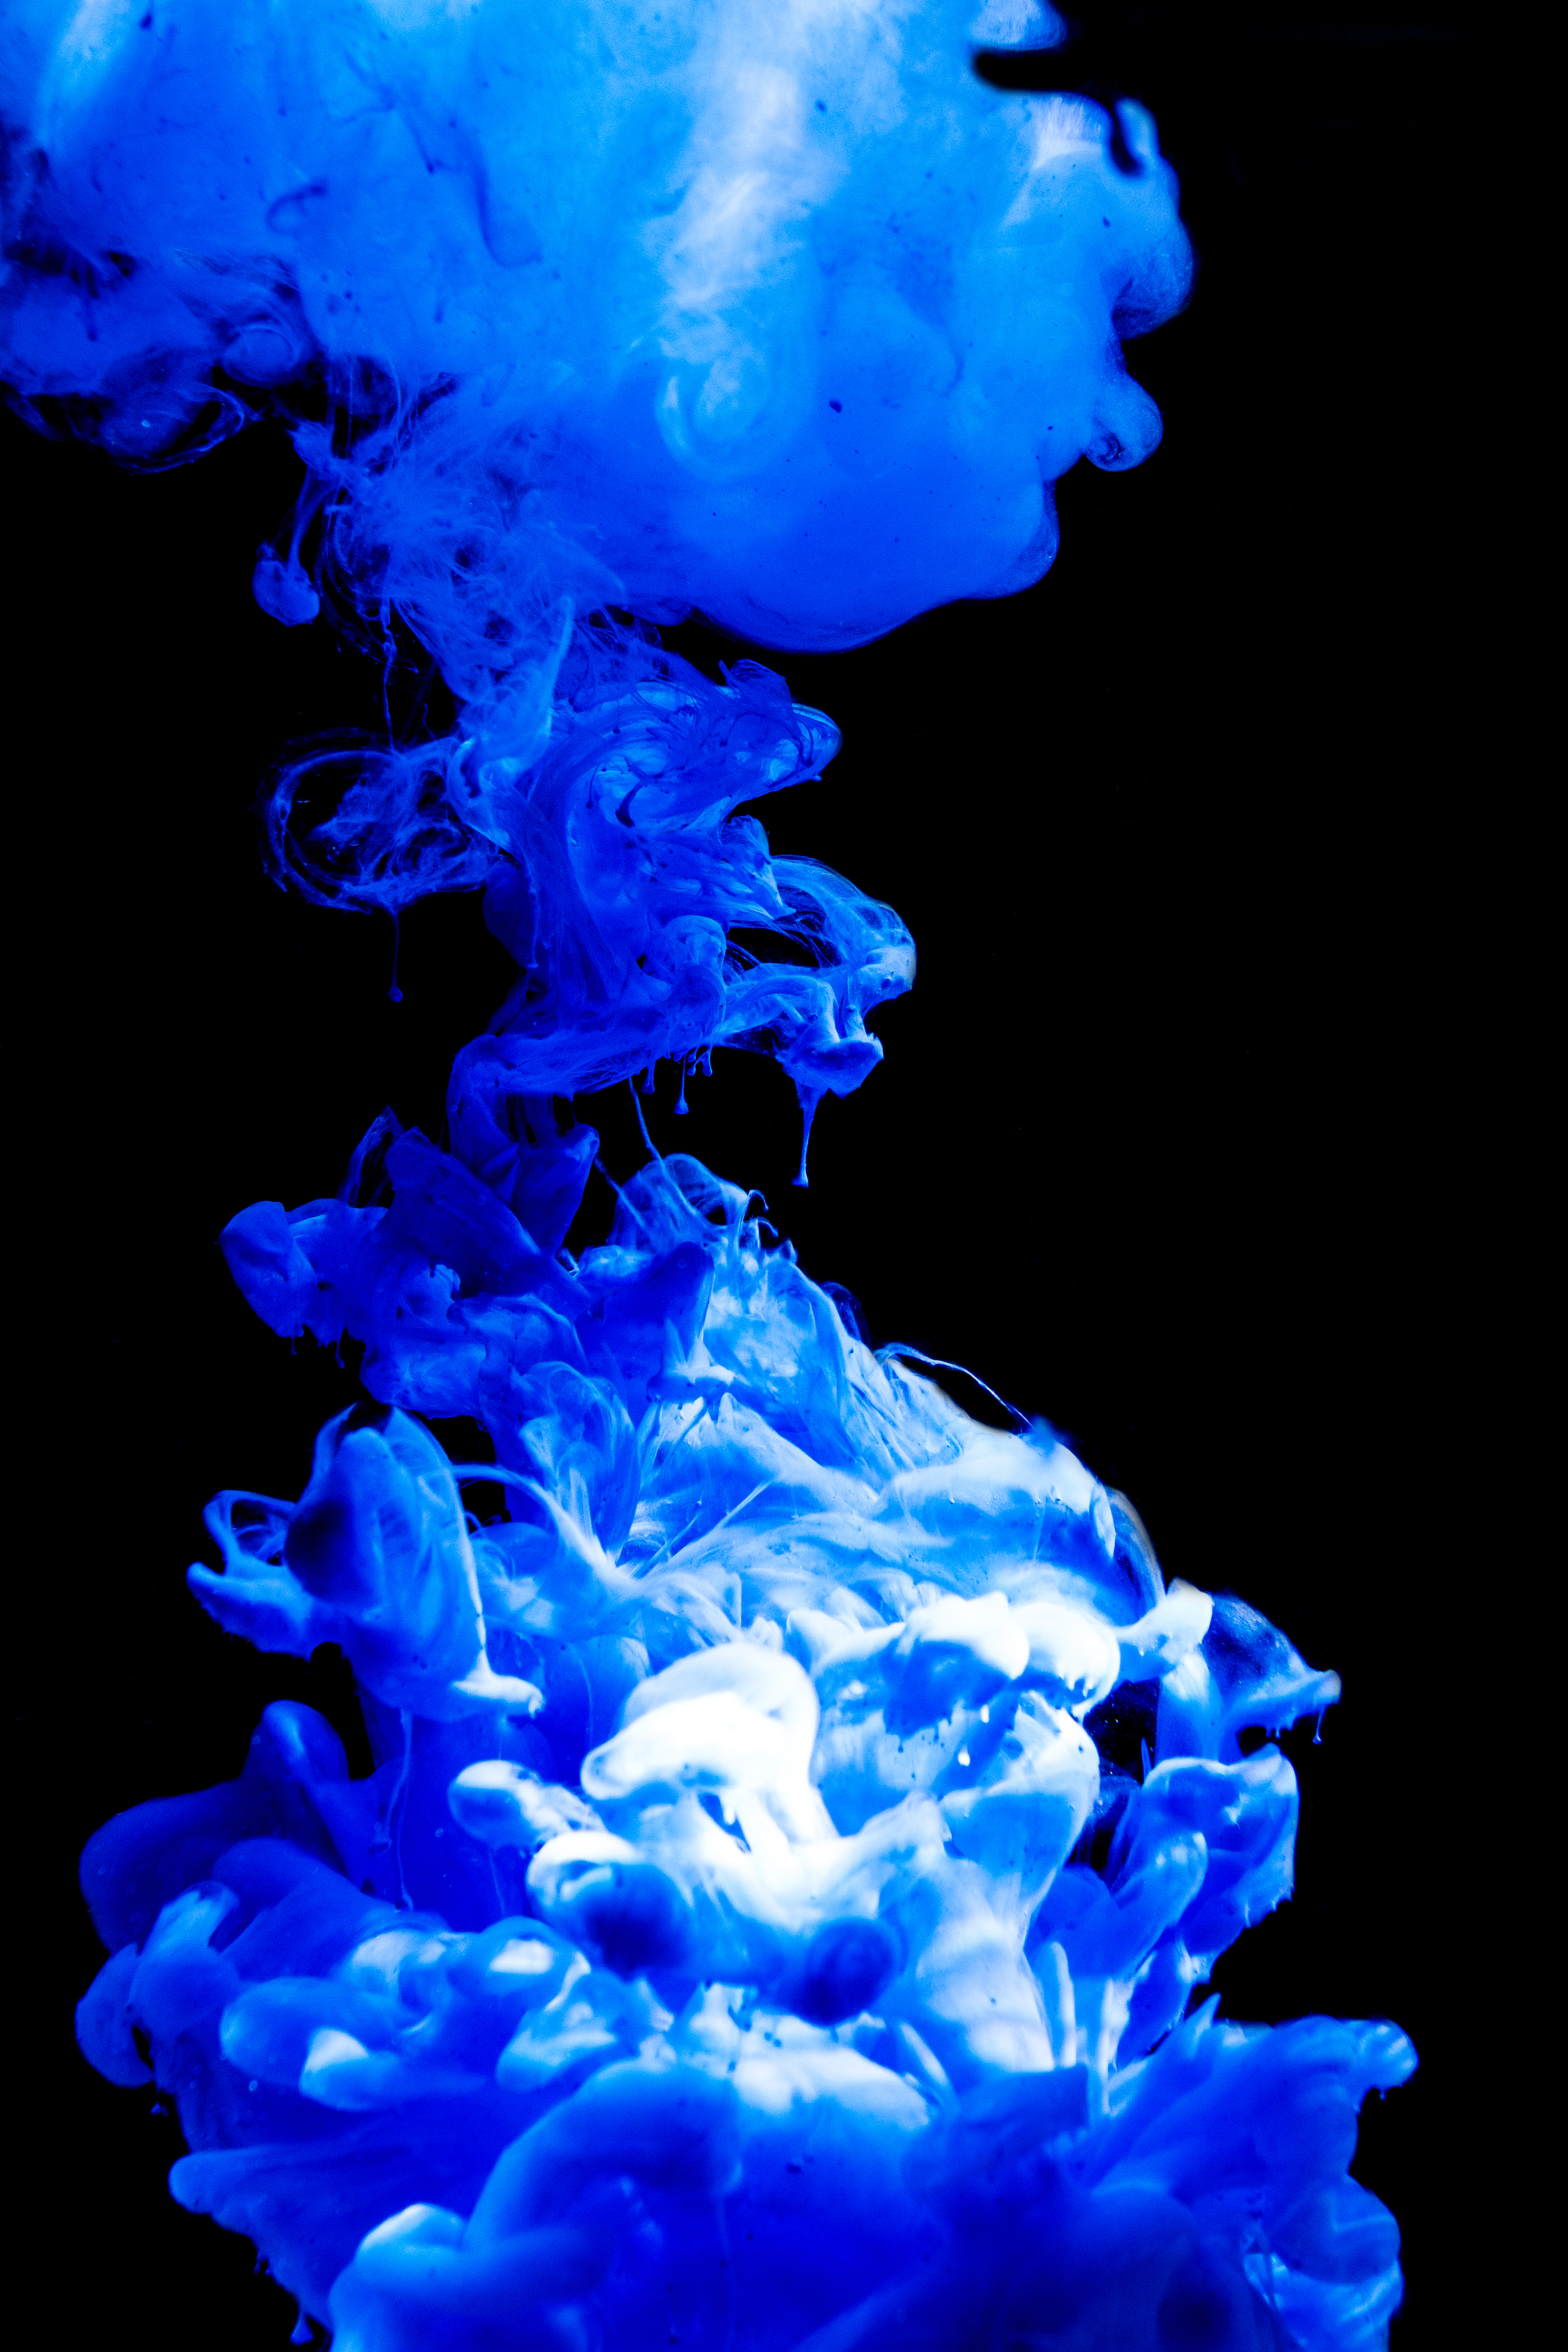
After seeing quite a few examples online I decided to experiment with underwater ink photography. It took a while for me to find the correct ink to use in order to get the effect present in the images, but after a few hours of research I finally found the right kind of ink for the job. 

The following five images were created by dropping acrylic ink into a flower vase. I than captured the flowing cloud of ink by using a flash and a very fast shutter speed. After I went through about 100 test images and a few gallons of water, I managed to pick out these five as the best images. 

Im still experimenting with this technique, so expect more in the near future. 

Below are the five final images. Enjoy, and let me know what you think. 

[Photo] - "Gone and Still Forgotten" - Re Edit.

Recently Google has made the popular Nik suit of photoshop plugins free to download. I have been looking at this particular plugin suit for quite some time, and now that it's free I figured it's time to give it a try.  

I decided to re edit "Gone and Still Forgotten" to practice using the Silver EFX Pro plugin. 

The following image is the result. 

[Photo] - "A Splash Of Blue" - Final Edit

About a month ago I posted an image titled "A Splash Of Blue". I was not happy with the initial results of the image which has prompted me to revisit it a few times over the past few months. After re shooting the bottle I can now say that I am happy with the final results. 

Below is the final version of "A Splash Of Blue". 

[Photo] - "Strawberry Sundae" - 3/17/16

The following image is another shot for my upcoming senior portfolio. I decided to stray away from my current trend of photographing beverages, and focus on food photography. For this weeks project I figured I would try photographing deserts. The initial process of taking the image was a bit harder than I expected, mainly due to the fact that studio lights cause ice cream to melt a lot faster than normal. However despite the problems I had while shooting I am still happy with the result. 

Below is the final image, as well as some alternate versions. I am still having a hard time deciding which version I like the best so I decided to include the alternate versions. Feel free to let me know which one you like the most.  

Above: Final edit as of 3/17/16

Below: Alternate versions. 

[Photo's] - Experimenting With Macro Photography

I've been wanting to get into macro photography for quite some time now. The following images are my first attempts. Both photos were taken using a Canon 50mm 1.8 lens attached to the camera with a few macro extension tubes. As of writing this post I have not purchased a macro lens. I've found that the extension tubes tend to distort the image and produce results that are rather fuzzy. I can only get better with practice and who knows, perhaps i'll buy a proper macro lens in the near future.

As always any feedback is appreciated.   

[Photo] - "A Splash Of Blue" - 3/3/16

Here is another photo taken as a part of my portfolio evaluation class. 

I had a bit more trouble with this one than normal. I ended up with at least three versions of this photo that I was not happy with. After getting some feedback from my professor I finally decided on this version, which was a lot different than my original idea. 

The entire image is a composite made out of at least five photographs. All the images were combined within Photoshop to create the final effect. 

As always, any feedback is greatly appreciated. I am currently looking for ways to improve this one, so it will likely change a few times before the semester is over. 

"Time - Part 1" - "Passing Time"

The following is another installment of my photo series, "Time - Part 1". I decided to take a break from the overall theme of the project and shoot this one in color as apposed to black and white. I will still include a black and white version of this shot, however I like the color version a lot more. 

As always any feedback is always appreciated. Let me know what you think. 

Above: "Passing Time" - Final Version

Below: "Passing Time" - B&W Version

[Photo] "Carlsberg" - 2/20/16

The following image is another experiment with how light effects reflective objects. I've been trying to build a portfolio based around product shots, this being one of the many photos that will be included. I will post more from my portfolio in the coming weeks, so expect a lot of changes to the site. 

As always any feedback is highly appreciated. Let me know what you think. 


"The King's Golden Apples" - 12/21/15

The following is the first image from my latest project. This photo series titled "The Firebird" will be a photographic representation of an old Slavic fairy tale of the same name.

The story tells of a Tsar in possession of a tree bearing golden fruit. One day the Tsar discovered that someone was stealing his golden apples, and thus sends his three sons to investigate. This first image represents the magical apples that grow in the Tsar's orchard. 

The full story can be read here

All images from this series can be found on this page, which will be updated as the project continues. 


[Photo] "Heineken" - 11/27/15

I decided to try my hand at some product photography. I mainly used this shot to get familiar with a new light kit I purchased. So far im happy with the result. I definitely need to work on my technique though. I also tried a few new post production techniques, although I have not quite perfected them yet. 

The following image is the result of my experiments.